How I Got a Professional Email on My Domain Inside Gmail — for Free
A quick 2-minute setup using Cloudflare and Gmail, no paid hosting or tech headaches.

How I Got My Domain Email Working in Gmail for $0
1. The Problem
I had a shiny domain — bankstatementconverter.pro — and wanted to use a proper email like [email protected].
The catch?
- I didn’t want to pay for Google Workspace or other hosting.
- I wanted to send and receive from inside my existing Gmail, without logging into multiple places.
- And I wanted it fast — ideally in 2–3 minutes. (not hours long setup)
Most “free” guides either:
- Only let you receive mail (no sending), or
- Lock sending behind a paid plan.
2. The Winning Combo
After a few trials and some reading, the setup that finally worked was:
- Cloudflare Email Routing → to receive domain emails into Gmail for free.
- Gmail’s “Send mail as” + App Password → to send mail as my domain, from inside Gmail.
It’s 100% free, quick to set up, and good enough for personal or small project use.
3. How the Setup Works (in plain English)
Think of it like two one-way streets:
- Inbound street (receiving) → Cloudflare catches any email sent to
[email protected]and forwards it to my Gmail inbox. - Outbound street (sending) → Gmail sends mail using my Gmail account’s SMTP, but changes the “From” address to show my domain.
Result:
- People see my domain email in their inbox.
- I see and send everything inside my normal Gmail tab.
4. Step-by-Step Implementation
Step 1 — Set up Cloudflare Email Routing
- Add your domain to Cloudflare (free plan works).
- In the dashboard, go to Email → Email Routing.
- Add a forwarding rule:
- Custom address:
[email protected] - Destination address: your Gmail (
[email protected]).
- Custom address:
- Cloudflare gives you MX + TXT records — add them in your DNS settings.
- Test: send an email to
hello@…and check if it lands in Gmail.
Step 2 — Enable Sending from Gmail
- In Gmail, go to Settings → Accounts and Import → Send mail as.
- Click Add another email address.
- Enter:
- Name: Whatever you want to display.
- Email:
[email protected]. - Untick “Treat as alias”.
- For SMTP:
- Server:
smtp.gmail.com - Port:
587(TLS) - Username: your Gmail address
- Password: Google App Password (generate in Google Account → Security → App Passwords — requires 2-Step Verification).
- Server:
- Gmail will send a verification email to
hello@…→ it’ll arrive in your Gmail → click to confirm.
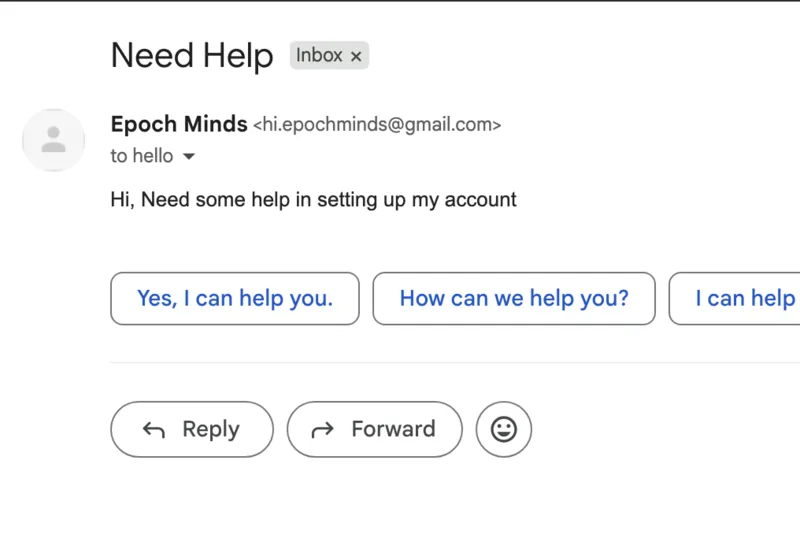
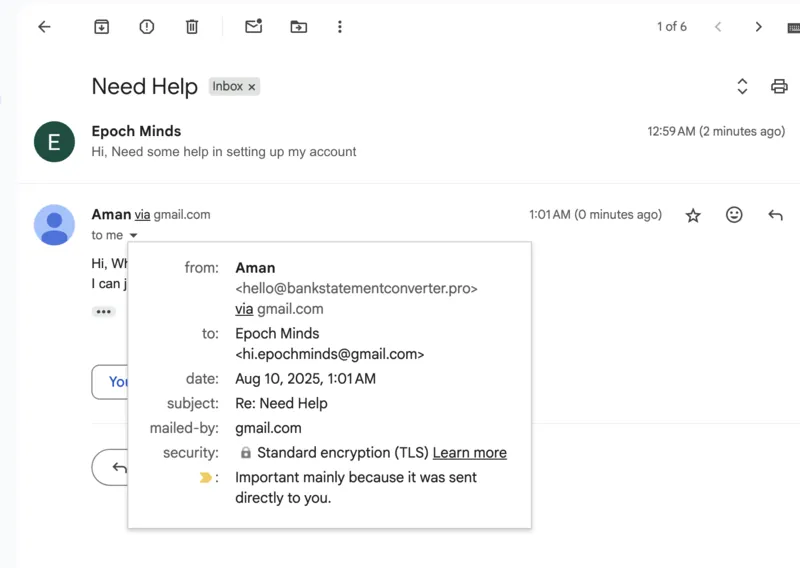
5. Real-World Example
Sent email to Gmail at my domain:
Replied & Received email forwarded via Cloudflare into Gmail:
6. Things to Know Before You Call It Done
Limitations:
- Cloudflare is receive-only — you still send via Gmail’s servers.
- Email headers will show “mailed-by: gmail.com” — fine for most, but not full white-label.
- Not for mass mailing or newsletters — Cloudflare may block abuse (source).
Costs:
- Cloudflare Email Routing: $0
- Gmail SMTP (App Password): $0
- Setup time: Max 5 minutes
7. Optional Upgrades
Option 1 — Full Branding via Zoho Mail
If you want emails to show “mailed-by: yourdomain.com” in the header and pass strict SPF/DKIM checks:
- Sign up for Zoho Mail’s Forever Free Plan (1 domain, 5 users, 5 GB each).
- Use Zoho’s SMTP in Gmail’s “Send mail as” instead of Gmail SMTP.
- End result: fully white-labeled sending, still $0.
Option 2 — Just Use Google Workspace
If you prefer a simpler “all-in-one” and are okay with paying:
- Get Google Workspace Business Starter (~$6/user/month).
- You get Gmail hosting for your domain, 30 GB storage, and all Google apps in one place.
- This removes all “mailed-by” issues automatically.
8. The Takeaway
You don’t need to pay for a mailbox if you already love Gmail’s interface.
This Cloudflare + Gmail method:
- Gives you a real domain email address,
- Lets you send/receive in one inbox,
- Costs nothing to run.
And if you outgrow it, switching the sending part to Zoho SMTP or Google Workspace makes it look fully professional.
Thanks for reading — I hope this guide helped you. Got feedback or an extra tip? Drop a comment or DM; I’d love to hear it.
Follow me on Medium for more hands‑on AI write‑ups.
Connect on X or LinkedIn so we can swap ideas in real time.